August 31, 2025
Comprehensive Guide to Replacing Royal Portable Typebar Springs
Understanding the Royal Portable Typebar Springs
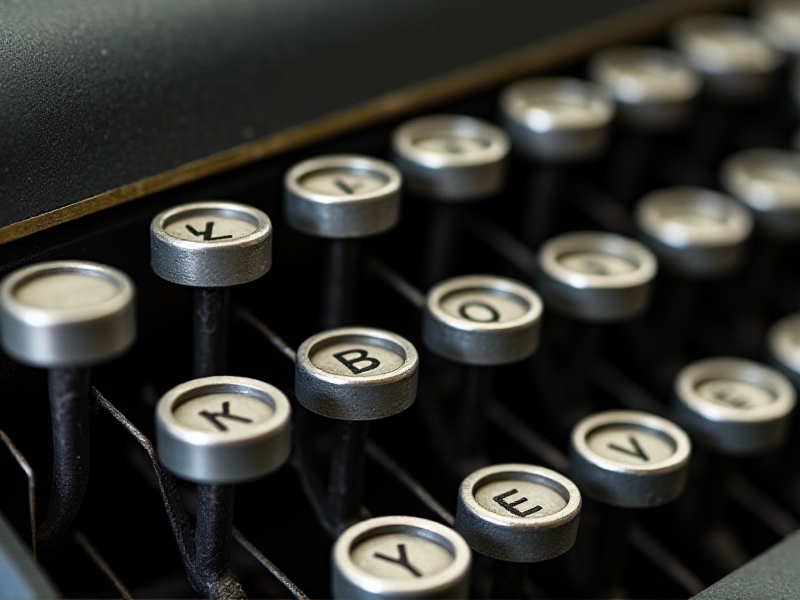
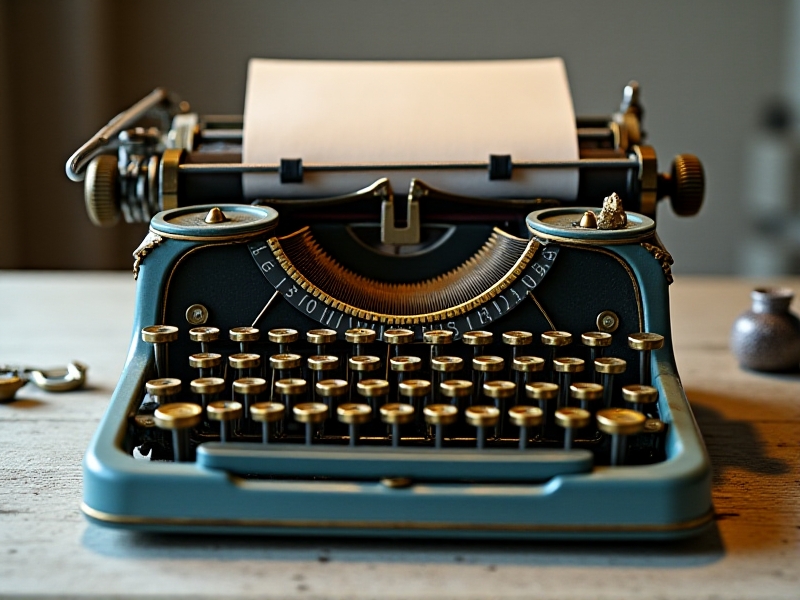
The Royal Portable typewriter is a classic piece of machinery, beloved by collectors and enthusiasts alike. At the heart of its functionality are the typebar springs, which play a crucial role in ensuring smooth and consistent typing. These springs are responsible for returning the typebars to their original position after a key is pressed. Over time, however, these springs can wear out or break, leading to typing issues such as sluggish key response or keys getting stuck.
Understanding the anatomy of these springs is essential before attempting any repairs. Each spring is a small, coiled piece of metal that attaches to the typebar and the typewriter's frame. The tension in the spring ensures that the typebar snaps back quickly after striking the ribbon and paper. Without properly functioning springs, the typing experience can become frustrating and inefficient.
Replacing these springs requires a combination of patience, precision, and the right tools. It's important to note that not all Royal Portable models use identical springs, so identifying the correct replacement part is crucial. This guide will walk you through the process step by step, ensuring that your typewriter is restored to its former glory.

Gathering the Necessary Tools and Materials
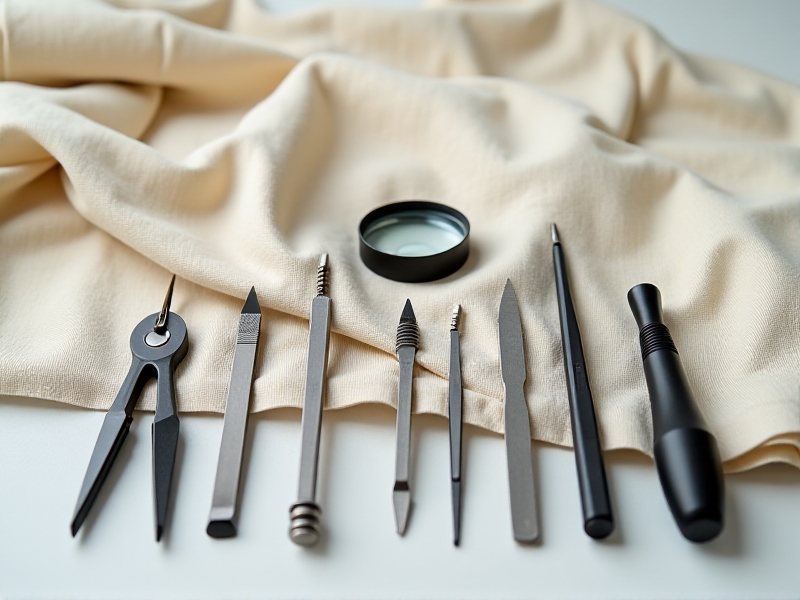
Before diving into the replacement process, it's important to gather all the tools and materials you'll need. Having everything on hand will make the process smoother and prevent unnecessary interruptions. Essential tools include a small screwdriver set, needle-nose pliers, tweezers, and a magnifying glass. These tools will help you handle the small and delicate components of the typewriter with precision.
In addition to tools, you'll need replacement springs. These can often be sourced from specialty typewriter repair shops or online retailers. Make sure to purchase springs that are compatible with your specific Royal Portable model. It's also a good idea to have a clean workspace with good lighting, as the small size of the springs and typebars can make them difficult to see and handle.
Finally, consider having a soft cloth or mat to place the typewriter on during the repair. This will protect the machine from scratches and provide a stable surface to work on. With all your tools and materials ready, you'll be well-prepared to tackle the replacement process.
Disassembling the Royal Portable Typewriter
Disassembling the Royal Portable typewriter is the first step in replacing the typebar springs. Start by removing the ribbon cover and the ribbon itself. This will give you better access to the typebars and springs. Next, use a small screwdriver to remove the screws holding the typewriter's outer casing in place. Carefully lift off the casing and set it aside.
Once the casing is removed, you'll have a clear view of the typebars and springs. Take note of how the springs are attached to the typebars and the frame. It may be helpful to take photos or make sketches as you go, to ensure you can reassemble the typewriter correctly later. Use your needle-nose pliers or tweezers to gently detach the old springs from their attachment points.
Be cautious not to bend or damage the typebars during this process. If a spring is particularly stubborn, apply a small amount of lubricant to loosen it. Once all the old springs are removed, you're ready to install the new ones. This step requires patience and a steady hand, as the springs are small and can be tricky to maneuver into place.
Installing the New Typebar Springs
With the old springs removed, it's time to install the new ones. Start by attaching one end of the spring to the typebar. This can be done by carefully hooking the spring onto the small loop or notch on the typebar. Use your tweezers or needle-nose pliers to hold the spring in place as you attach it. Once the first end is secure, attach the other end of the spring to the frame of the typewriter.
Repeat this process for each typebar, ensuring that each spring is properly tensioned. The spring should be tight enough to snap the typebar back quickly but not so tight that it causes unnecessary strain on the mechanism. It may take a few attempts to get the tension just right, so be patient and make adjustments as needed.
As you work, periodically test the typebars by pressing the keys. This will help you identify any springs that may need further adjustment. Once all the new springs are installed and properly tensioned, you can move on to reassembling the typewriter.
Reassembling and Testing the Typewriter
Reassembling the Royal Portable typewriter is the final step in the replacement process. Start by carefully placing the outer casing back onto the typewriter and securing it with the screws you removed earlier. Make sure all screws are tightened securely but not overly tight, as this could damage the casing or internal components.
Next, reinstall the ribbon and ribbon cover. Ensure that the ribbon is properly threaded through the guides and that the cover is securely in place. Once everything is reassembled, it's time to test the typewriter. Begin by typing on each key to ensure that all typebars are functioning correctly and that the springs are providing the necessary tension.
If you notice any keys that are still sluggish or unresponsive, double-check the tension of the corresponding springs and make any necessary adjustments. With all the springs properly installed and the typewriter reassembled, you should now have a fully functional machine ready for use.
Maintaining Your Royal Portable Typewriter
Now that your Royal Portable typewriter is back in working order, it's important to maintain it properly to prevent future issues. Regular cleaning is essential to keep the typebars and springs functioning smoothly. Use a soft brush to remove dust and debris from the typebars and springs, and apply a small amount of lubricant to the moving parts as needed.
Store your typewriter in a cool, dry place to prevent rust and other damage. If you plan to use the typewriter frequently, consider investing in a protective cover to keep it clean and dust-free. Periodically check the tension of the typebar springs and make adjustments as necessary to ensure consistent performance.
By taking these steps, you can extend the life of your Royal Portable typewriter and enjoy its classic typing experience for years to come. Proper maintenance will also make future repairs easier, should they be needed.