August 31, 2025
Step-by-Step Guide to Restoring 1920s Royal Portable Typewriters
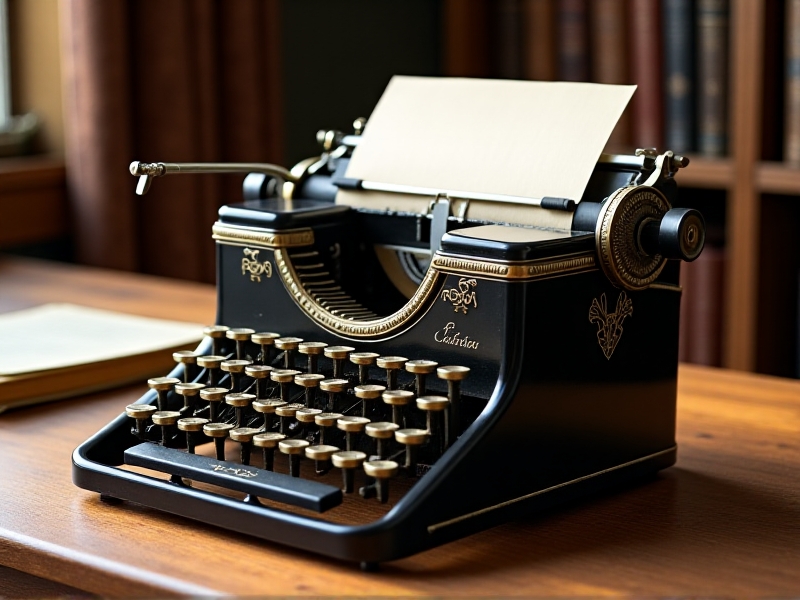
Introduction to 1920s Royal Portable Typewriters
The 1920s were a golden era for typewriters, and the Royal Portable Typewriter stands as a testament to the craftsmanship and innovation of the time. These machines were not just tools for writing; they were symbols of modernity and efficiency. Today, restoring a 1920s Royal Portable Typewriter is a rewarding project that combines history, mechanics, and artistry. This guide will walk you through the process step-by-step, ensuring that your typewriter is brought back to its former glory.

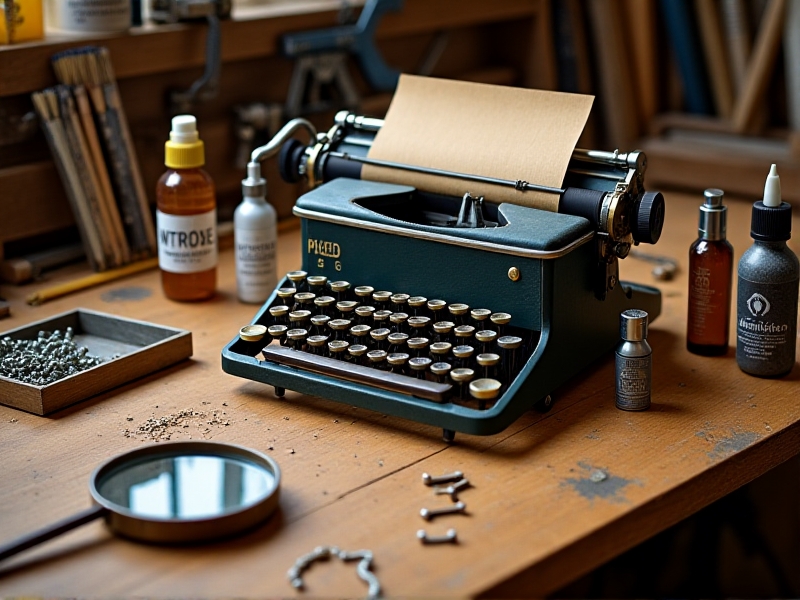
Gathering the Necessary Tools and Materials
Before diving into the restoration process, it's essential to gather all the tools and materials you'll need. This includes basic tools like screwdrivers, pliers, and brushes, as well as specialized items such as typewriter oil, cleaning solvents, and replacement parts. Having everything on hand will make the process smoother and more efficient. Additionally, it's a good idea to have a workspace that's well-lit and organized, with plenty of room to lay out the typewriter's components as you work on them.
Disassembling the Typewriter
Disassembling a 1920s Royal Portable Typewriter requires patience and precision. Start by removing the outer casing, taking care not to damage any delicate parts. As you disassemble the machine, take notes or photos to document the placement of each component. This will be invaluable when it's time to reassemble the typewriter. Pay special attention to the typebars, keys, and carriage mechanism, as these are often the most intricate parts of the machine.
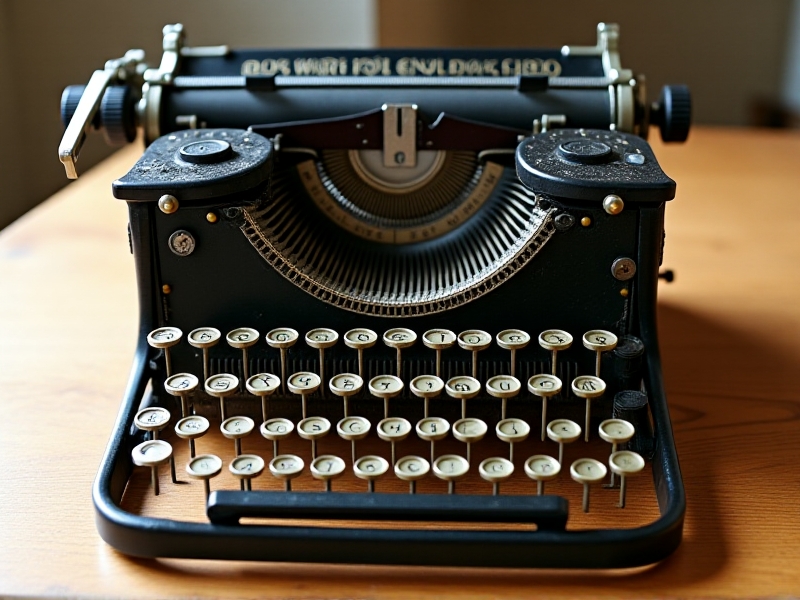
Cleaning and Removing Rust
Over the decades, rust and grime can accumulate on a typewriter's metal parts. Cleaning these components is a crucial step in the restoration process. Use a gentle cleaning solvent and a soft brush to remove dirt and debris. For rusted parts, a rust remover or a mixture of vinegar and baking soda can be effective. Be sure to rinse and dry each part thoroughly to prevent further corrosion. This step not only improves the typewriter's appearance but also ensures that it functions smoothly.
Lubricating and Oiling the Mechanism
Proper lubrication is key to the smooth operation of a typewriter. After cleaning, apply a small amount of typewriter oil to the moving parts, such as the typebars, carriage, and keys. Avoid over-lubricating, as excess oil can attract dust and dirt. Use a precision oiler to apply the oil precisely where it's needed. This step will help reduce friction and wear, ensuring that the typewriter operates as it did when it was new.
Replacing Worn or Damaged Parts
Over time, some parts of a typewriter may become worn or damaged beyond repair. Common parts that may need replacement include typebars, springs, and keytops. Fortunately, there are suppliers who specialize in vintage typewriter parts. When replacing parts, ensure that they are compatible with your specific model of Royal Portable Typewriter. This step may require some research and patience, but it's essential for restoring the typewriter to full functionality.
Reassembling the Typewriter
Reassembling the typewriter is the final step in the restoration process. Refer to the notes or photos you took during disassembly to ensure that each part is returned to its correct position. Take your time and double-check each component as you go. Once the typewriter is fully reassembled, test its functionality by typing on it. Make any necessary adjustments to ensure that the keys strike evenly and the carriage moves smoothly.
Final Touches and Maintenance Tips
With the typewriter fully restored, it's time to add the final touches. Polish the exterior to bring out its original luster, and consider adding a protective cover to keep it in pristine condition. Regular maintenance, such as cleaning and oiling, will help preserve the typewriter for years to come. Enjoy the satisfaction of using a piece of history, and take pride in knowing that you've given new life to a classic machine.